
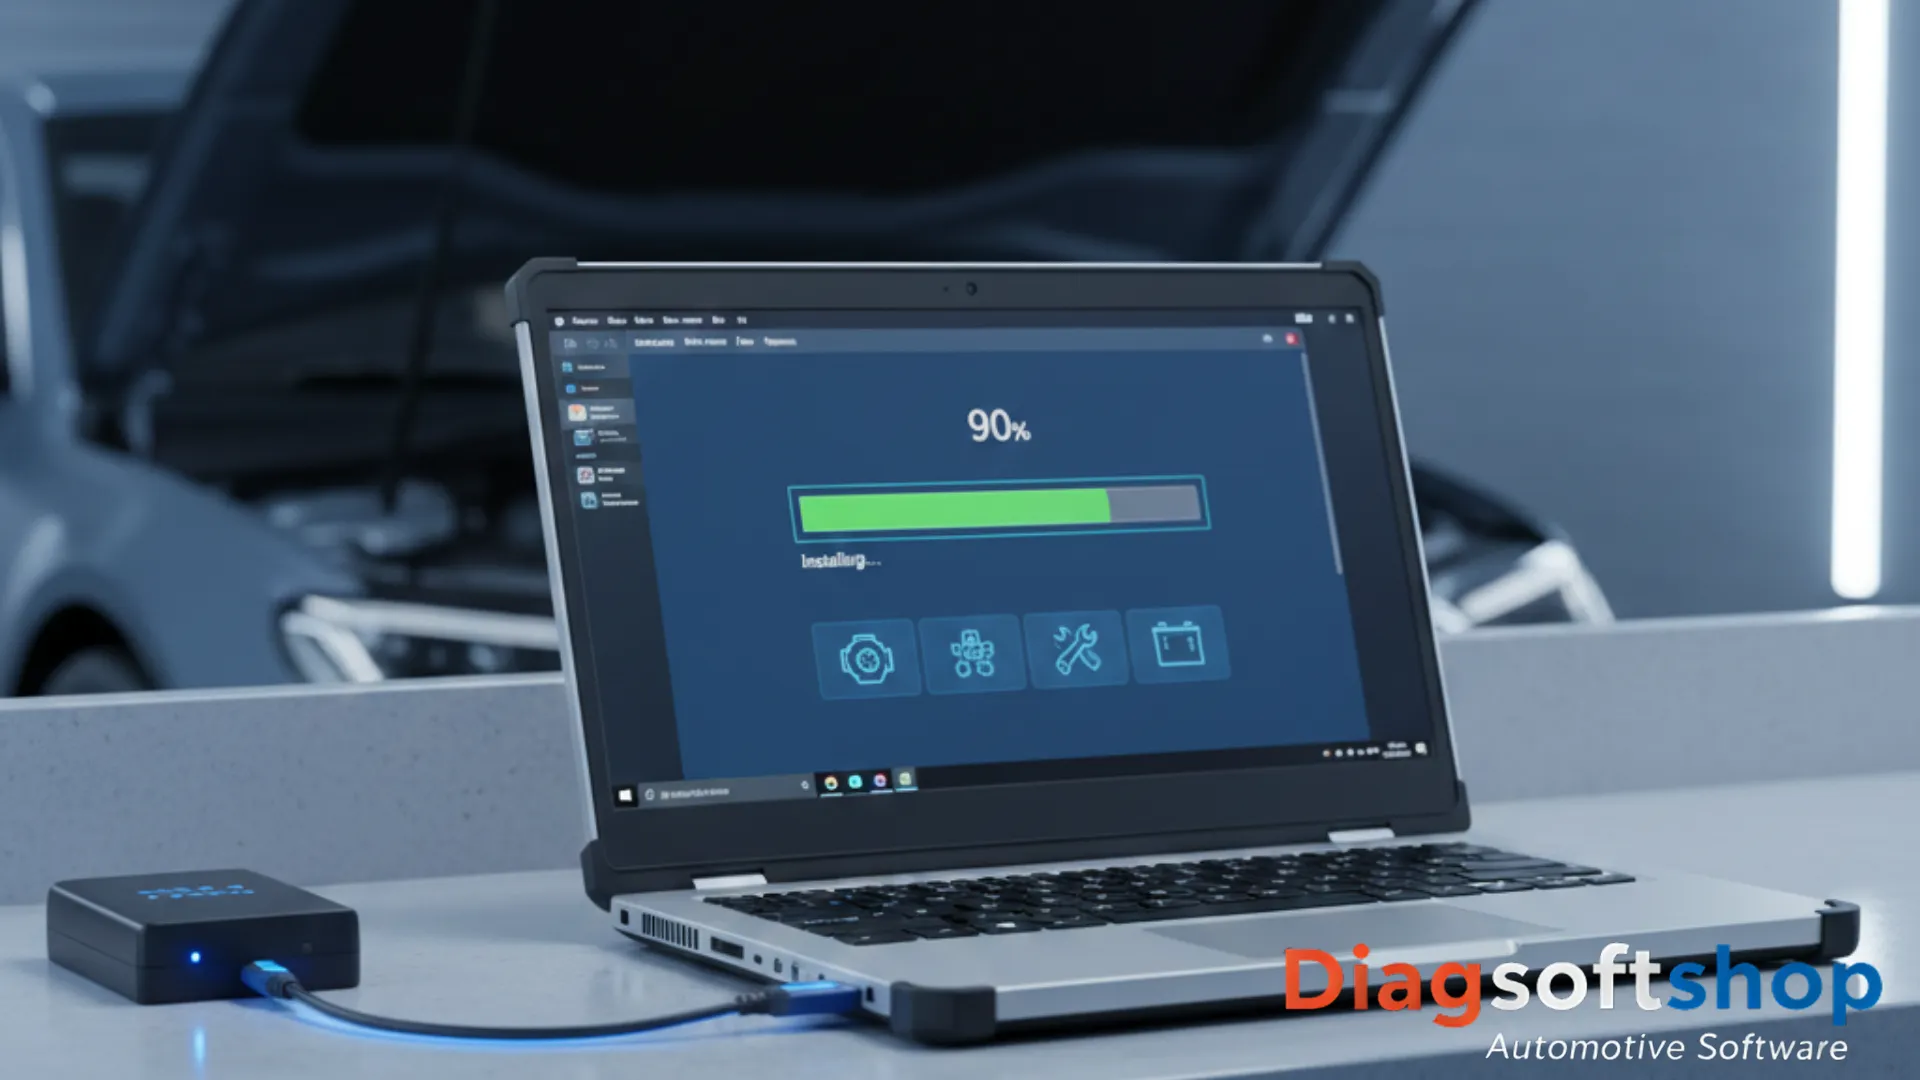
The Ultimate Car Diagnostic Software Installation Tutorial: 2026 Edition
Installing professional tools can be a daunting task due to complex drivers and security protocols. This car diagnostic software installation tutorial is designed to simplify the process for both beginners and experienced technicians. At DiagSoftShop, we ensure that our software packages are optimized, but following the correct sequence is vital for a stable connection to the vehicle.
Pre-Installation Requirements
Before starting, ensure your laptop meets the minimum technical specifications. For 2026 versions of Xentry, ISTA, or ODIS, we recommend at least 16GB of RAM and a dedicated SSD.
- Disable Antivirus Temporarily: Some diagnostic scripts are flagged as false positives.
- Windows Updates: Ensure your OS is fully updated to support the latest .NET Frameworks.
- Power Supply: Always keep your laptop connected to a charger during the installation process.
Step-by-Step Configuration
The core of this car diagnostic software installation tutorial lies in the driver configuration. Most connection issues arise from incorrect COM port settings or outdated J2534 drivers.
- Step 1: Run the main installer as an Administrator.
- Step 2: Install the specific VCI drivers (DoIP or CAN-FD) provided in your DiagSoftShop download link.
- Step 3: Configure the connection settings within the software to match your hardware interface.
FAQ: Software Troubleshooting
Q: My VCI is not detected by the software? A: Check your Device Manager in Windows. If you see a yellow triangle next to the USB device, the driver was not installed correctly.
Q: Does this software work on Windows 11? A: Yes, all our 2026 software packages are fully compatible with Windows 11 Pro, provided that S-Mode is disabled.